
Top Testing Asbestos Kits for Safe Home Sampling
Concerned about asbestos in your home? Testing asbestos is essential for safety. This guide explains how to collect samples safely and what to do with your test results.
Key Takeaways
- Asbestos exposure poses significant health risks, including lung cancer and mesothelioma, making the identification and management of asbestos-containing materials essential for safety.
- Proper preparation and protective gear, such as disposable coveralls and HEPA masks, are crucial when collecting asbestos samples to minimize fiber exposure.
- Engaging professional services for asbestos testing and removal is advisable if asbestos is detected, ensuring compliance with regulations and safe handling.
Understanding Asbestos and Its Risks
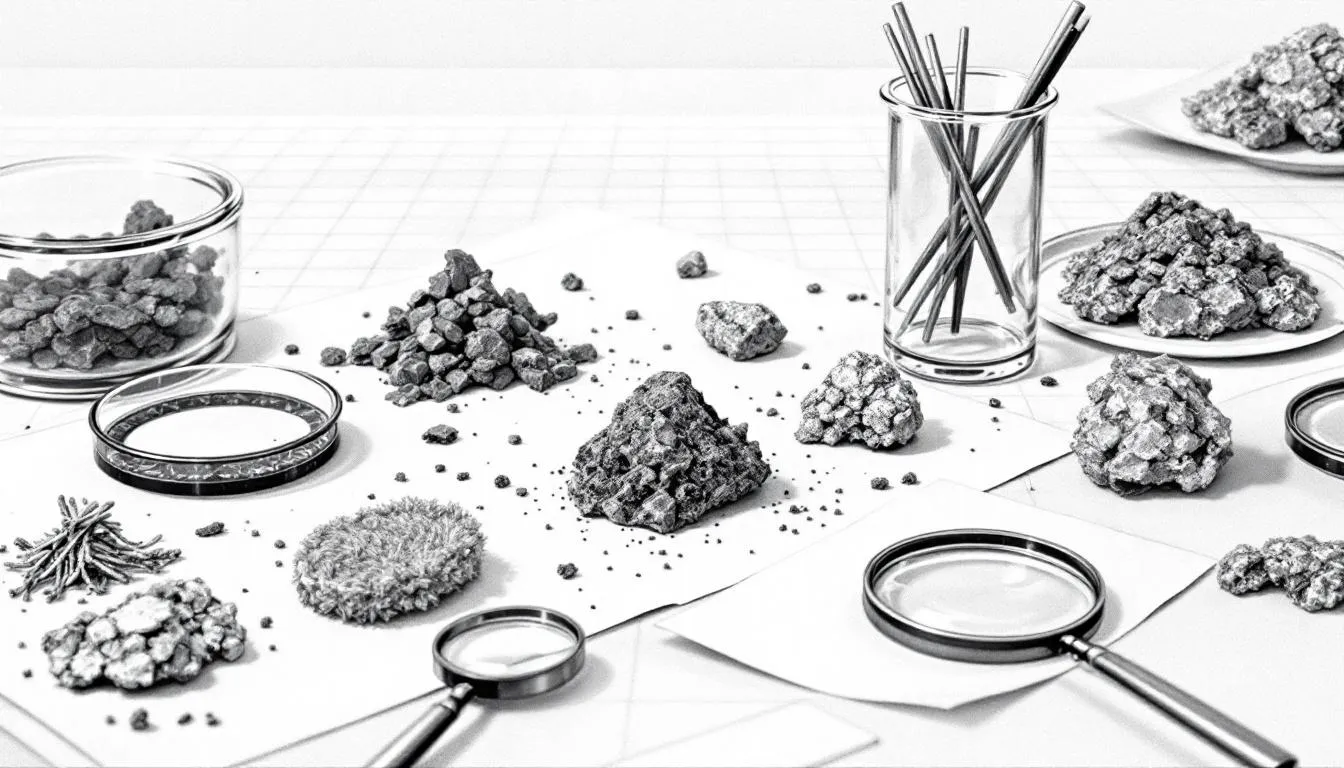
Asbestos is a naturally occurring fibrous mineral known for its remarkable heat and fire resistance. Historically, it was extensively used in construction materials, including insulation, roofing, and floor tiles, due to these properties. However, the very characteristics that made asbestos so attractive also contribute to its potential dangers.
When asbestos fibres become airborne and are inhaled, they can lead to severe health issues. Prolonged exposure to these fibers can cause lung cancer, asbestosis, and mesothelioma—a rare but aggressive form of cancer. Shockingly, there is no safe level of asbestos exposure, meaning even minimal contact can pose significant health risks. The risk of developing these conditions increases with the duration and intensity of exposure.
Asbestos exposure can occur in various environments, from homes to workplaces. The fibers may contain asbestos and can remain airborne for extended periods, further increasing the risk of inhalation. Identifying and managing asbestos-containing materials (ACMs) in your home is vital to protect your health and that of your family.
Preparing for Asbestos Sampling
Before diving into the sampling process, it’s essential to equip yourself with the right tools and protective gear. An asbestos testing kit typically includes personal protective equipment (PPE) such as:
- Disposable coveralls
- Waterproof gloves
- Safety glasses
- Boot covers
- A tight-fitting mask with a HEPA filter and asbestos testing kits.
This gear is crucial to minimize exposure to asbestos fibers during the sampling process, as it is carried out effectively.
Preparing the environment for asbestos sampling involves:
- Sealing doorways and windows with plastic sheeting
- Turning off fans and HVAC units to prevent the spread of asbestos fibers during the sampling process
- Spraying the area with a mixture of liquid dish soap and water to help keep the fibers from becoming airborne.
When collecting samples, follow these full instructions:
- Avoid using power tools that can generate dust.
- Carefully cut out a small piece of the suspect material, minimizing disturbance.
- Seal each sample in a double plastic bag to prevent fiber release.
- Clearly label each sample with the date, location, and type of material.
Lastly, ensure that you have proper asbestos waste bags to dispose of any contaminated materials and PPE. This step is crucial to avoid any secondary contamination and to comply with asbestos regulations.
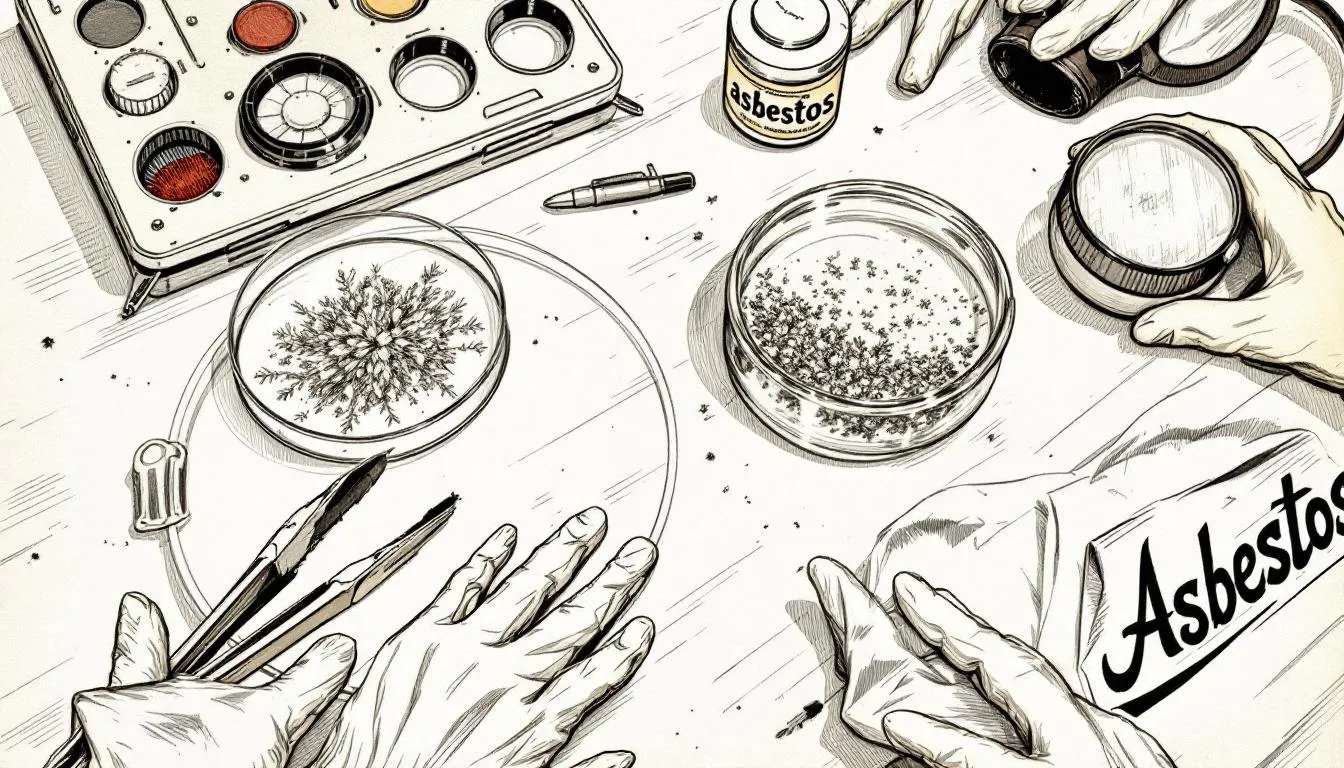
Collecting Asbestos Samples Safely
With your asbestos testing kit in hand, collecting samples safely is the next critical step. The testing kit should include detailed instructions on how to collect the sample safely. Typically, the first step is to cut out a small sample of the suspect material, such as insulation or floor tiles. If solid materials are not available, you can collect settled dust (about one teaspoon) for testing.
To minimize the release of asbestos fibers during sampling, follow these steps:
- Always use wet methods.
- Spray the area with water before and during the sampling process.
- If there isn’t sufficient dust, utilize a damp tissue to clean the area.
- Afterwards, place the collected dust in a sealable bag for testing.
Sealing the work area with plastic sheeting is crucial to prevent any asbestos fibers from escaping. Wearing a half-face respirator with P100 filters is essential to block asbestos fibers during sampling. Following these steps ensures that you collect asbestos samples safely and reduce the risk of exposure.
Sending Your Asbestos Samples to the Lab
Once you have collected your asbestos samples, the next step is to send them to a laboratory for testing. Follow these steps:
- Place each asbestos sample in a clear sealable bag.
- Label the bag with the specific location from which the sample was collected.
- For added security, double bag the sample to prevent any potential fiber release during shipping.
Before sending the samples, fill out a sample submission form provided by the laboratory. This form typically includes details about the sample and your contact information. It is also advisable to contact the lab to notify them of the incoming shipment, ensuring they are prepared to receive and process your present samples. If you are wondering how many samples to send message, be sure to check the guidelines.
After packaging, mail the sample to the designated laboratory address using the pre-paid return envelope provided in your asbestos testing kit. Don’t forget to dispose of all protective clothing properly to avoid any contamination after sampling. This meticulous approach ensures that your samples are safely sent and ready for analysis.
Interpreting Your Asbestos Test Results

Receiving your asbestos test results can be a nerve-wracking experience. The report you receive should match your details and sample reference number to ensure accuracy. It’s crucial to verify this information before taking note of the sample results of the tested results.
The report will indicate whether asbestos was detected in the sample and determine the type of asbestos if found. If the result is marked as ‘N.A.D.I.S’ (No Asbestos Detected in Sample), it means your sample has been analysed and is asbestos-free.
Understanding these results helps you take the necessary steps to manage any asbestos-containing materials in your house with easy to follow instructions.
Common Areas Where Asbestos May Be Found
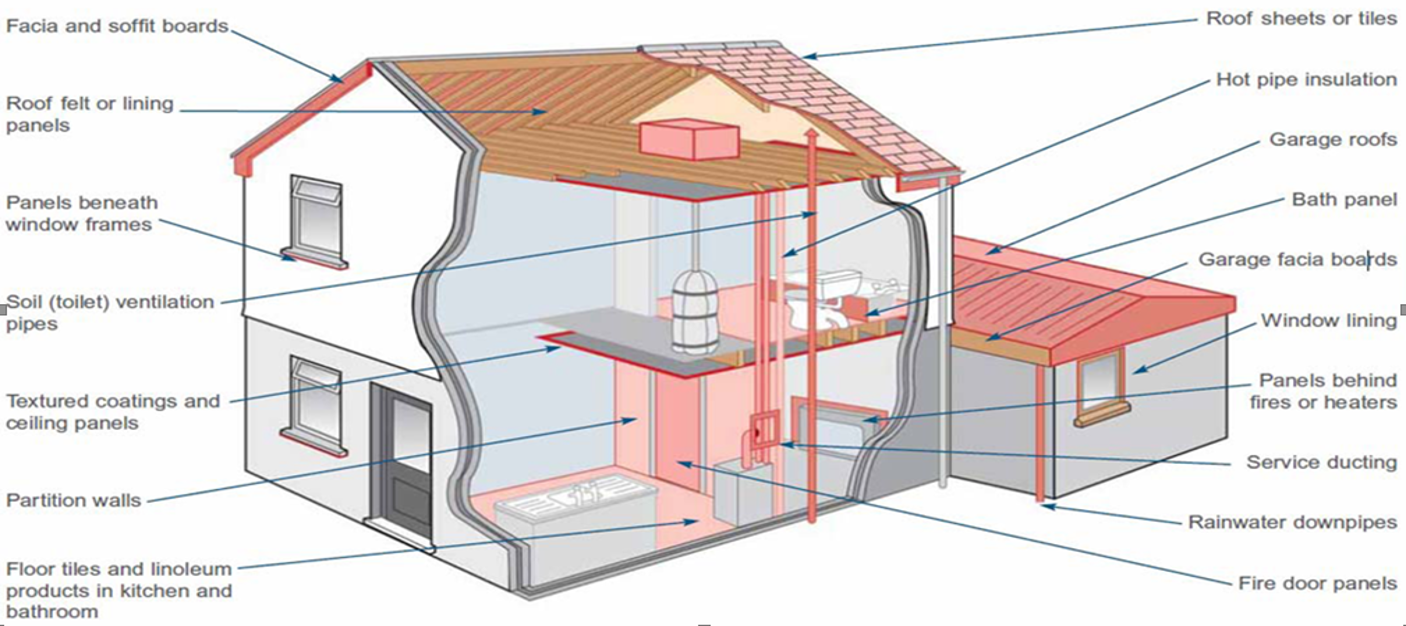
Asbestos can be found in various locations within homes, especially those built before the 1980s. One common area is loose fill insulation in attics, which poses a risk during renovations. Vermiculite insulation, often sold before 1990, is another potential source and is recognizable by its mica-like shine and gray-brown or silver-gold color.
Common sources of asbestos in building materials include:
- Textured coatings, such as Artex, often used on ceilings and walls
- Vinyl floor tiles backed with asbestos paper and bitumen adhesive
- Asbestos cement roofs and gutters, prevalent in both residential and industrial buildings, which may also contain asbestos materials.
Asbestos insulating boards are frequently found around boilers and in the following areas and other areas of residential properties. Identifying these common areas where asbestos may be found is crucial for effective asbestos testing and management.
Professional Advice and Support
If you discover asbestos in your home, obtaining professional advice is paramount to ensure safe handling and compliance with regulations. It is often advisable to hire a professional for asbestos removal if your test results are positive. Surrey Asbestos Surveys can provide a list of reputable contractors for asbestos removal and assist clients in understanding their quotes.
This consultancy service includes auditing previous asbestos surveys for compliance with current regulations and offers tailored advice to help clients navigate UK asbestos legislation. Clients can fill out an inquiry form or call Surrey Asbestos Surveys, a UKAS accredited laboratory, to discuss their inspection requirements and receive expert UKAS accredited free advice and analyse their options.
If you receive positive asbestos test results, you have options such as sealing the area or hiring a licensed abatement company for removal. Surrey Asbestos Surveys provides specialized consulting services to assist various businesses and homeowners in the safe management and removal of asbestos.
Summary
In summary, asbestos testing is a crucial step in ensuring the safety of your home and family. Understanding asbestos, its risks, and how to prepare for and conduct sampling can make a significant difference in managing this hazardous material. By following the steps outlined in this guide, you can confidently collect and send your asbestos samples for testing.
Remember, professional advice and support are available if you encounter asbestos in your home. Taking proactive measures today can prevent serious health issues tomorrow. Stay informed, stay safe, and ensure your home remains a haven free from asbestos dangers.
Frequently Asked Questions
What is asbestos?
Asbestos is a naturally occurring fibrous mineral valued for its heat and fire-resistant properties, which led to its widespread use in building materials. Its hazardous health risks have resulted in significant regulations on its use today.
How do I prepare for asbestos sampling?
To prepare for asbestos sampling, ensure to use an asbestos testing kit, seal the area, wear personal protective equipment (PPE), and minimize fiber dispersion by wetting the area prior to sampling. This comprehensive approach is crucial for ensuring safety and accuracy in the testing process.
How do I safely collect asbestos samples?
To safely collect asbestos samples, utilize wet methods to minimize dust, take a small sample of the material, and seal it in double plastic bags while labeling it clearly. This ensures safety and proper handling.
Where should I send my asbestos samples for testing?
It is essential to send your asbestos samples to a UKAS accredited laboratory, ensuring they are properly packaged, labeled, and include a completed sample submission form. This approach guarantees accurate and reliable testing results.
What do my asbestos test results mean?
Your asbestos test results indicate whether asbestos was detected and specify the type if present; a result of ‘N.A.D.I.S’ means no asbestos was found in the sample.